Fixing hot and cold spots isn’t about randomly closing vents; it’s about mastering your home’s thermal system like a professional.
- True comfort depends on Mean Radiant Temperature (the heat from surfaces), not just the thermostat’s air temperature reading.
- Improper airflow, poor system sizing, and an unsealed building envelope—not a faulty furnace—are often the real culprits behind uneven heating and cooling.
Recommendation: Start by diagnosing your system’s airflow and performance using the principles in this guide before considering costly equipment upgrades.
The experience is maddeningly common for anyone living in a multi-story home: the upstairs bedrooms feel like a sauna in the summer, while the basement remains an icebox. In winter, the roles reverse, with heat stubbornly refusing to reach the upper floors. The intuitive response is to crank the thermostat, close a few vents, and hope for the best, but this rarely solves the underlying issue and often just drives up energy bills. This approach treats the symptoms, not the cause, which is a fundamental misunderstanding of how a home’s thermal system operates.
The conventional wisdom—change your filter, check for drafts—is necessary but insufficient. The real solution doesn’t lie in quick fixes but in adopting the mindset of an HVAC systems designer. It requires a deeper understanding of the physics at play: the principles of air pressure, thermal stratification, and, most importantly, the difference between air temperature and the temperature you actually feel. The problem is rarely a single faulty component; it’s an imbalanced system.
This guide moves beyond the surface-level advice. We will deconstruct the core reasons your home has hot and cold spots by exploring the technical concepts that govern thermal comfort. You’ll learn how to strategically adjust your existing system, diagnose critical sizing mistakes, and identify the most cost-effective upgrades to achieve a consistently comfortable temperature on every floor. By understanding the system as a whole, you can finally put an end to the thermostat wars.
Summary: How to Eliminate Hot and Cold Spots in a Two-Story House?
- Why 70 Degrees Feels Cold in Winter and Hot in Summer?
- How to Adjust Dampers to Force Air to the Second Floor?
- Radiant Floor vs. Forced Air: Which Provides Better Subjective Comfort?
- The Sizing Mistake That Leaves Your Home Clammy and Humid
- Sequencing Your Ceiling Fans: Which Direction to Spin in Winter?
- Problem & Solution: Zoning Your Heating to Stop Wasting Energy on Empty Rooms
- Problem & Solution: Reducing Heating Bills by 15% With Smart Thermostats
- Which Energy Efficiency Upgrades Pay for Themselves in Under 10 Years?
Why 70 Degrees Feels Cold in Winter and Hot in Summer?
The number on your thermostat is often misleading because it only measures one thing: ambient air temperature. True thermal comfort, however, is a complex interplay of four distinct factors. In winter, your thermostat might read 70°F, but you still feel a chill. This is likely due to a low Mean Radiant Temperature (MRT). Cold surfaces like single-pane windows, poorly insulated walls, or uninsulated floors act like thermal vacuums, pulling radiant heat away from your body, making you feel cold regardless of the air’s temperature. Conversely, in summer, a room at 72°F can feel stuffy and hot if humidity is high or if sun-baked walls are radiating heat inward.
Understanding this distinction is the first step in diagnosing your home’s comfort issues. Inefficiencies in the building envelope are a major culprit; studies reveal that up to 30% of energy use in homes is wasted, largely by creating these uncomfortable radiant temperature differences. You aren’t just heating or cooling the air; you’re battling the surfaces around you. Other factors like air velocity (drafts) and relative humidity also significantly impact how you perceive temperature. A slight draft can make a warm room feel cool, while high humidity prevents sweat from evaporating, making a moderately warm room feel oppressive.
To move from subjective feelings to objective data, you can assess these four factors yourself. This diagnostic approach allows you to pinpoint the real cause of discomfort—is it a cold wall, a drafty window, or a humidity problem?—rather than just blaming the thermostat. The following checklist helps you investigate the true thermal environment of any room.
- Measure Air Temperature: Use a standard thermometer to check actual air temperature in different areas.
- Check Mean Radiant Temperature (MRT): Use an infrared thermometer to scan walls, windows, and ceilings for cold or hot surfaces.
- Assess Air Velocity: Feel for drafts near windows and doors, and check if ceiling fans are creating unwanted air movement.
- Monitor Relative Humidity: Use a hygrometer to measure humidity levels. The ideal range for comfort is typically between 30-50%.
How to Adjust Dampers to Force Air to the Second Floor?
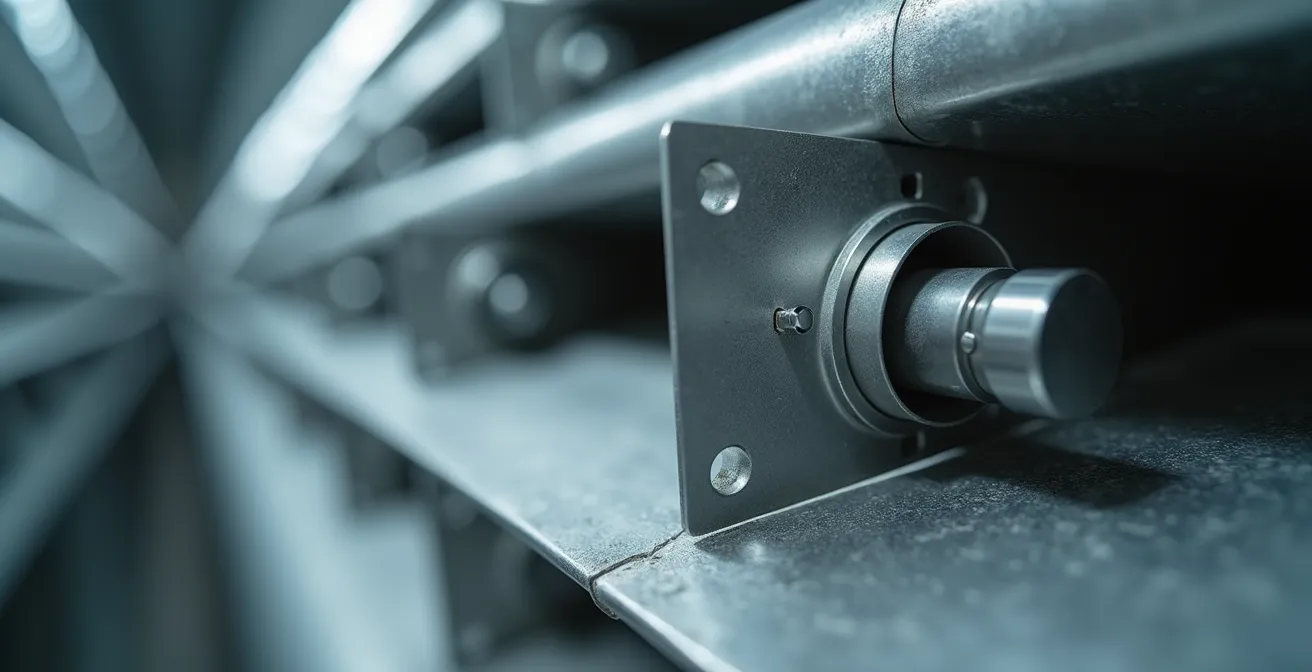
Inside the ductwork of most forced-air HVAC systems are small, adjustable plates called dampers. These act like valves, allowing you to control and redirect the volume of conditioned air sent to different parts of your home. Properly adjusting them is one of the most effective, no-cost ways to combat the natural tendency of hot air to rise (stack effect) and cold air to sink, which is the primary cause of temperature imbalance in two-story houses. The control is usually a small lever on the outside of the main ducts, often located in the basement or attic near the furnace or air handler.
The key is to think seasonally. In the summer, you want to force more of the heavy, cold air from your AC unit up to the second floor. To do this, you partially close the dampers leading to the downstairs and basement areas. This increases the air pressure in the system, forcing more of the cool air up the ducts that lead to the second story. In winter, you do the opposite: partially close the upstairs dampers to keep more of the naturally rising warm air on the lower levels.
However, a critical word of caution from a systems perspective: never close a damper completely. Doing so can create excessive back-pressure, known as static pressure, within your ductwork. This high pressure can strain your HVAC system’s blower motor, reduce its efficiency, increase noise, and even lead to premature equipment failure. The goal is to balance, not block. A partial closure of 25-50% is often sufficient to redirect airflow without harming the system. Use the following guide for seasonal adjustments and to test your work.
- Summer Mode: Partially close downstairs and basement dampers (about 25-50% closed) to force cool air upward.
- Winter Mode: Partially close upstairs dampers (about 25-50% closed) to allow hot air to rise naturally while directing more heat to lower levels.
- Test Airflow Changes: Tape a light ribbon or piece of tissue paper to the vents to visually confirm that the airflow has increased or decreased as intended.
- Perform the Door Test: With the system running and interior doors closed, check if doors are being pushed open or pulled shut. This can indicate a return air problem, a separate issue that exacerbates hot and cold spots.
Radiant Floor vs. Forced Air: Which Provides Better Subjective Comfort?
The debate between radiant floor heating and traditional forced-air systems goes to the heart of what creates comfort. While forced air heats the air, radiant systems heat surfaces—and by extension, you. This fundamental difference is why radiant heating often provides superior subjective comfort. It directly addresses the Mean Radiant Temperature (MRT) we discussed earlier. By warming the floor beneath your feet, a radiant system turns the largest surface in the room into a gentle, low-temperature radiator. This creates an incredibly even heat that rises slowly, warming objects and people directly without creating drafts or dust circulation.
Forced-air systems, by contrast, are prone to creating temperature stratification. Because hot air is less dense, it quickly rises to the ceiling, leaving the lower portion of the room cooler. This can lead to the classic “cold feet, warm head” sensation. Furthermore, the air blowing from vents can create drafts, and the system can circulate dust, pollen, and other allergens throughout the home. Radiant systems avoid these issues entirely, operating silently and without moving air.
The following table breaks down the key differences from a comfort and system design perspective.
| Feature | Radiant Floor Heating | Forced Air System |
|---|---|---|
| Temperature Distribution | Even heat from floor up | Can stratify (hot air rises) |
| Air Quality | No dust circulation | Can circulate allergens |
| Noise Level | Silent operation | Fan and vent noise |
| Mean Radiant Temperature | Directly warms surfaces | Primarily heats air |
| Energy Efficiency | Can operate at lower air temps | Requires higher air temps for comfort |
Case Study: Double-Decker Bungalow Temperature Resolution
Residents of a two-story bungalow experienced significant temperature variations between floors. An investigation revealed that poorly-insulated, old windows were the primary issue, creating extremely low MRT during winter. After replacing the old windows with high-quality, energy-efficient models, they achieved uniform temperatures throughout the house—demonstrating how addressing Mean Radiant Temperature through the building envelope can solve comfort issues even with a standard forced-air system.
The Sizing Mistake That Leaves Your Home Clammy and Humid
One of the most common—and counterintuitive—causes of discomfort, especially in summer, is an oversized air conditioning unit. The logic seems simple: bigger is better. In reality, an oversized AC is a significant engineering mistake. It cools the air so quickly that it shuts off before it can perform its other critical function: dehumidification. This phenomenon, known as short-cycling, is what leaves your home feeling cool but unpleasantly clammy. Proper dehumidification requires longer run times, as the indoor coil needs to stay cold long enough for water vapor to condense on it and drain away.
An AC unit that short-cycles (running for less than 10 minutes at a time) is like a driver constantly flooring the gas and then slamming on the brakes. This stop-start operation is highly inefficient, leading to higher energy bills and increased wear and tear on the system’s compressor. A correctly sized unit will run for longer, more consistent cycles on hot days, effectively removing humidity and providing a much more comfortable indoor environment. If your home feels damp even when the AC is running, or if you hear the unit kicking on and off frequently, there is a high probability it is too large for your space.
Correctly sizing an HVAC unit requires a professional “Manual J” load calculation, which considers factors like your home’s square footage, window quality, insulation levels, and local climate. You can, however, perform a preliminary diagnosis yourself to determine if oversizing is the likely culprit behind your comfort issues.
Action Plan: Audit for HVAC Unit Oversizing
- Pinpoint System Behavior: Log when and where you notice the cool but clammy feeling. Note the outside temperature and weather conditions at the time.
- Gather Cycle Data: On a moderately hot day (85-90°F), use a stopwatch to time how long your AC unit runs during a single cycle before it shuts off. Repeat this several times.
- Cross-Reference Against Benchmarks: Compare your findings to the industry red flag. If your AC cycles are consistently shorter than 10 minutes, oversizing is highly probable.
- Assess Sensory Evidence: Use a hygrometer to get an objective measure of relative humidity. Does the air feel clammy even when the thermostat temperature is met? A reading above 55-60% indoors is a strong indicator.
- Formulate an Action Plan: If your data points to short-cycling, the next step is to contact a qualified HVAC professional and specifically request a Manual J load calculation to confirm the proper unit size for your home.
Sequencing Your Ceiling Fans: Which Direction to Spin in Winter?
Ceiling fans are not just for summer. When used correctly, they are a powerful tool for improving thermal comfort and energy efficiency year-round by combating temperature stratification. The key is understanding that the direction of the blade rotation creates either a cooling downdraft or a warming updraft. Most fans have a small switch on the motor housing that reverses the blade direction, allowing you to sequence their operation with the season.
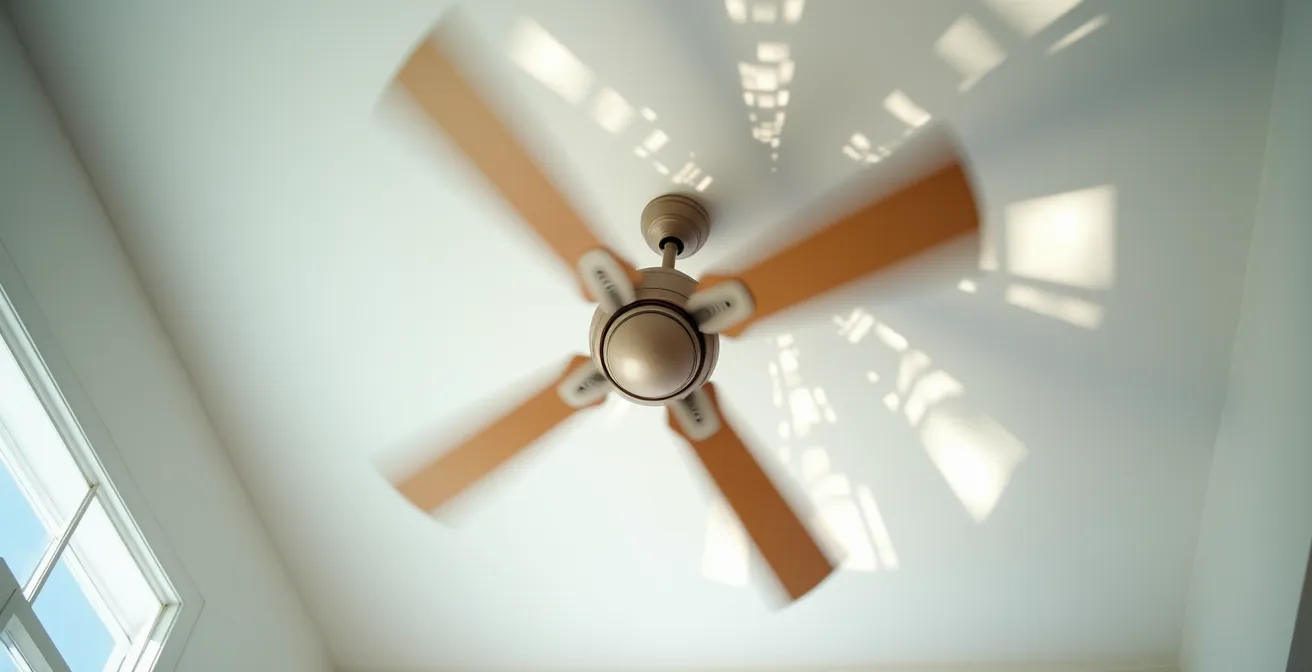
In summer, you want the fan to spin counter-clockwise. This pushes air straight down, creating a direct breeze that produces a wind-chill effect on your skin. This makes you feel cooler, allowing you to set your thermostat a few degrees higher and save energy without sacrificing comfort. The goal is to feel the air moving.
In winter, the strategy is completely different. You want the fan to spin clockwise on a low speed. This pulls cool air up from the floor level and pushes the warm air that has pooled at the ceiling out towards the walls and down into the living space. This process, known as de-stratification, gently mixes the air in the room to create a more uniform temperature without creating an uncomfortable draft. This is especially effective in rooms with high ceilings (8 feet or more), where significant heat can become trapped near the top. Running the fan for 15-30 minutes after your heating system shuts off can maximize the circulation of the warm air you’ve just paid to create.
- Summer: Set the fan to spin counter-clockwise to create a downdraft for a direct, cooling wind-chill effect.
- Winter: Set the fan to spin clockwise at a low speed to create an updraft that de-stratifies warm air from the ceiling.
- Height Matters: The updraft strategy for winter works best on ceilings that are 8 feet or higher. On lower ceilings, even a low-speed updraft can sometimes be felt as a draft.
- System Synergy: Run fans on low for 15-30 minutes after the HVAC system shuts off to maximize the circulation of conditioned air throughout the room.
Problem & Solution: Zoning Your Heating to Stop Wasting Energy on Empty Rooms
In a typical two-story house, a single thermostat controls the entire home’s temperature. This is fundamentally inefficient, as it attempts to maintain one setpoint for vastly different thermal environments—like a hot upstairs bedroom and a cool, unused basement. The ultimate solution to this problem is an HVAC zoning system. Zoning divides your home into distinct areas, or “zones,” each controlled by its own thermostat. This allows you to heat or cool only the areas you’re using, to the specific temperature you want, providing customized comfort and significant energy savings.
A true zoning system uses a series of electronically controlled dampers within your ductwork, managed by a central control panel. When the thermostat in Zone 1 (e.g., the downstairs living area) calls for heat, the system opens the dampers for Zone 1 and closes them for Zone 2 (e.g., the upstairs bedrooms), directing all the conditioned air exactly where it’s needed. This stops you from overheating one area while trying to warm another and eliminates the waste of conditioning empty rooms.
While professionally installed damper systems offer the most precise control, there are several levels of zoning you can implement to fit your budget and needs. Even simple manual zoning—strategically closing doors to unused rooms—can make a difference. For a more modern, DIY-friendly approach, smart vents can replace your existing register covers and be controlled via a smartphone app, offering room-by-room temperature management without altering your ductwork. The right choice depends on your specific goals and budget. Professional air balancing, which can resolve many of these issues, typically costs around $100 per vent opening to have an expert tune the system.
This table outlines the common investment levels for implementing a zoning strategy.
| Zoning Level | Cost | Complexity | Best For |
|---|---|---|---|
| Manual Zoning | Free | Low – Strategic door closing | Budget-conscious homeowners |
| Smart Vent Zoning | $500-$1,500 | Medium – App-controlled vents | Room-by-room control needs |
| True Damper Zoning | $2,000-$5,000+ | High – Professional installation | Whole-home temperature control |
Key Takeaways
- True thermal comfort is a balance of air temperature, radiant heat, humidity, and air velocity—not just the thermostat reading.
- Systematic adjustments, like balancing dampers and optimizing ceiling fan direction, are more effective than simply raising or lowering the thermostat.
- The root cause of imbalance is often a system design flaw, such as an oversized AC unit or a poorly sealed building envelope.
Problem & Solution: Reducing Heating Bills by 15% With Smart Thermostats
Simply installing a smart thermostat is not a magic bullet for fixing hot and cold spots. It’s a powerful tool, but its effectiveness depends entirely on how you use its advanced features. For a two-story home, the single most valuable feature is its ability to integrate with remote sensors. A standard thermostat can only read the temperature in one location—the hallway where it’s mounted. By placing wireless remote sensors in your problem areas (e.g., the hot upstairs bedroom, the cold home office), you give the system the data it needs to make smarter decisions.
Once the sensors are in place, you can configure the thermostat’s logic. You can tell it to maintain a temperature based on the average of all sensors, creating a more balanced temperature throughout the house. Even better, you can program it to prioritize a specific room at a specific time. For example, you can tell it to ignore the downstairs temperature at night and focus solely on maintaining a perfect 70°F in the upstairs master bedroom. This targeted approach stops the system from overworking to cool an empty living room and directs the conditioning exactly where it’s needed, when it’s needed.
Beyond remote sensors, smart thermostats provide invaluable diagnostic data. Their runtime reports can act as a home performance monitor. If you see a sudden spike in HVAC runtime, it could indicate a new air leak, like a window that’s no longer sealing properly. You can also use this data to measure the effectiveness of home improvements, comparing before-and-after runtime to see the impact of adding insulation or sealing ducts. When integrated with other smart home devices, they can even automate circulation, for instance, by turning on ceiling fans when the AC kicks in. In fact, the Department of Energy estimates that smart thermostats can save homeowners up to $180 per year on heating and cooling, and that’s before optimizing with these advanced strategies.
- Place remote sensors in problem rooms (hot upstairs bedroom, cold basement).
- Configure the thermostat to average temperatures across sensors or prioritize specific rooms at certain times of day.
- Use runtime reports as diagnostic tools to identify efficiency issues and monitor the impact of home improvements.
- Integrate with smart ceiling fans for automated air circulation during HVAC cycles.
Which Energy Efficiency Upgrades Pay for Themselves in Under 10 Years?
When trying to solve hot and cold spots, it’s tempting to jump to expensive solutions like a new HVAC system or high-efficiency windows. However, from a system design perspective, the most effective strategy always starts with the foundation: the building envelope. This is the physical barrier between the conditioned interior and the unconditioned exterior. An upgrade’s value is best measured by its Return on Investment (ROI), and the fastest payback periods come from improving the integrity of this envelope first.
The highest ROI upgrades are almost always the least glamorous: air sealing and attic insulation. Air sealing involves finding and caulking or spray-foaming small gaps, cracks, and penetrations around windows, doors, pipes, and electrical outlets. These small leaks collectively allow a massive amount of conditioned air to escape and unconditioned air to infiltrate. For a few hundred dollars in materials and labor, air sealing can drastically reduce energy loss and often pays for itself in just one to two years. Similarly, ensuring your attic is properly insulated to modern standards prevents heat from escaping through the roof in winter and infiltrating in summer, with a typical payback period of 3-5 years.
Only after the building envelope is tight should you consider more expensive upgrades like new windows or a new HVAC system. Installing a high-efficiency furnace in a leaky house is like pouring water into a bucket full of holes. The ROI pyramid below illustrates this “foundation-first” approach, prioritizing the upgrades with the quickest and most impactful payback periods.
| Priority Level | Upgrade | Typical Cost | Payback Period |
|---|---|---|---|
| Base (Highest ROI) | Air Sealing (caulk, weatherstripping) | $200-$500 | 1-2 years |
| Middle | Attic Insulation | $1,500-$3,000 | 3-5 years |
| Top (Lowest ROI) | High-efficiency windows | $5,000-$15,000 | 10-20 years |
| Top | New HVAC system | $5,000-$10,000 | 8-15 years |
Case Study: The ROI of a Professional Blower Door Test
To maximize the ROI of air sealing, guessing is not a strategy. A professional blower door test, which typically costs a few hundred dollars, depressurizes the house to pinpoint the exact sources of air leakage. This diagnostic investment allows for targeted, surgical fixes that provide a much higher ROI than randomly applying caulk or replacing expensive components. The test helps identify hidden gaps and cracks in the building envelope that contribute significantly to hot and cold spots, enabling precise, cost-effective solutions that solve the root problem.
Achieving a balanced and comfortable home is not a matter of chance, but of deliberate, informed adjustments. By moving beyond simple fixes and adopting a systematic approach—diagnosing before you act, sealing the envelope before you upgrade, and balancing airflow before you boost the thermostat—you address the root causes of thermal imbalance. Begin by systematically diagnosing your home’s performance using these principles to create a more comfortable and efficient living environment on every floor.